- Kitchen
Hand-hammered kitchen & prep sinks, with complementary range hoods
- Bath
Your choice of artisan copper for the bathroom
- Bathtubs
- Range Hoods
- Lighting
- Home Decor
- Accessories
The ideal faucets & drains to complement copper sinks & tubs
- Sale
- Resources
Our most helpful resources for owning artisan crafted pieces
- SHOP WITH CONFIDENCE
- Testimonials
- Photo Gallery
- Custom Projects
- FEATURED BLOG POSTS
- Copper Blog Home
- Correcting Inwanted Copper Patina Colors
- INSTALLATION GUIDES
- SoLuna Copper Bathtub
- SoLuna Copper Farmhouse Sink
- SoLuna Copper Bar or Prep Sink
- SoLuna Copper Bathroom Sink
search.toggle
1-360-321-2131
Account Login
Shopping Cart
(0)
You have no items in your shopping cart.
header-top-text
![]() Warehouse Sale! 20% off Selected Bath Sinks, Bar & Prep Sinks – While Supplies Last
Warehouse Sale! 20% off Selected Bath Sinks, Bar & Prep Sinks – While Supplies Last ![]()
20% off Selected Lighting, Bath Sinks, Bar & Prep Sinks – While Supplies Last ![]()
How to Install a SoLuna Copper Free-standing Bathtub
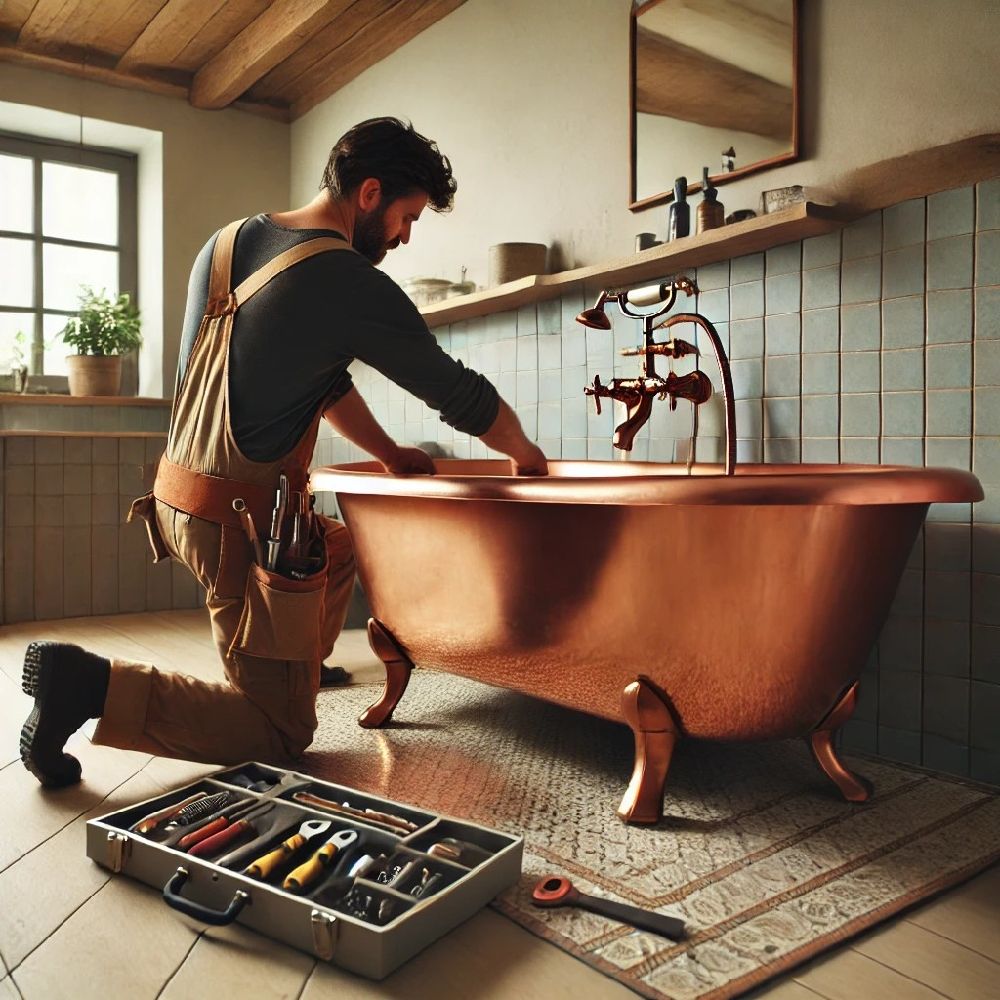
Installing a free-standing SoLuna copper bathtub requires careful planning and execution to ensure proper functionality and longevity. Here are the general steps to install one:
Tools and Materials You May Need:
- Adjustable wrench
- Pipe wrench
- Plumber’s tape (Teflon tape)
- Level
- Tape measure
- Silicone sealant
- Flexible supply lines
- Tub drain assembly kit
- Bathtub filler or faucet kit
- Towels/rags for cleaning
Steps for Installation:
- Choose the Location:
-
- Measure the Space: Ensure your bathroom has enough space for the tub. Measure carefully, considering both the width and depth of the bathtub. Leave enough room for access around the tub for cleaning and future maintenance.
- Check Floor Strength: Copper tubs can be heavy, especially when filled with water. Ensure the floor is structurally sound and reinforced if necessary to support the weight of the tub when full.
- Prepare the Plumbing:
-
- Drain Positioning: Since the tub is free-standing, confirm that the drain line is correctly aligned with the bathtub’s drain location. If not, a plumber may need to reposition it.
- Water Supply Lines: Ensure that hot and cold-water supply lines are routed to the location of the tub filler or faucet. It’s common for free-standing bathtubs to have floor-mounted or wall-mounted faucets.
- Install the Drain Assembly:
-
- Assemble the Drain: Follow the manufacturer’s instructions to install the drain assembly onto the tub. Apply plumber’s putty or silicone around the drain opening on the tub to create a watertight seal.
- Connect the Waste Pipe: Attach the drainpipe from the tub to the waste pipe in the floor using the appropriate fittings. Make sure connections are secure to prevent leaks.
- Install the Bathtub:
-
- Position the Tub: Carefully move the copper bathtub into place over the drain opening. Copper tubs can be heavy, so have assistance to avoid damaging the tub or surrounding surfaces.
- Level the Tub: Once in position, use a level to ensure the tub sits evenly. Adjust the feet (if adjustable) to level the tub. If the feet are not adjustable, you may need to use shims.
- Check the Drain Alignment: Verify that the tub’s drain is directly aligned with the plumbing in the floor, and that all connections are secure.
- Install the Faucet or Tub Filler:
-
- Faucet Installation: Install the tub filler or faucet according to the manufacturer’s instructions. Depending on the design, this could be a floor-mounted or wall-mounted fixture.
- Connect the Water Supply: Attach the water supply lines to the faucet. Use Teflon tape on the threads to ensure a secure connection.
- Seal the Tub Base (Optional):
-
- Apply Silicone: If desired, apply a thin bead of silicone sealant around the base of the tub where it meets the floor. This can help prevent water from getting underneath the tub. We recommend using clear, acid free silicone such as a GEII (General Electric Roman number II)
- Allow silicone to thoroughly dry before filling bathtub with water.
- Test for Leaks:
-
- Check All Connections: Turn on the water supply and test the faucet for hot and cold-water flow. Let the water fill the tub slightly and check for any leaks in the drain connections or around the faucet.
- Drain the Tub: Allow the water to drain out fully, checking the drainage speed and looking for leaks in the waste pipe or drain assembly.
- Clean and Wax:
-
- Clean the Tub: Wipe down the copper tub with a soft cloth to remove any fingerprints or smudges.
- Wax Tub: You can wax your copper tub periodically to help delay tarnishing and oxidation. We recommend "Renaissance Wax" or "Howard Wax-It-All".
Once the bathtub is installed and functional, enjoy its unique and luxurious look! Copper tubs are naturally antimicrobial and retain heat longer, making them both practical and aesthetically appealing.
ABOUT ARTISAN CRAFTED
CONTACT US


