- Kitchen
Hand-hammered kitchen & prep sinks, with complementary range hoods
- Bath
Your choice of artisan copper for the bathroom
- Bathtubs
- Range Hoods
- Lighting
- Home Decor
- Accessories
The ideal faucets & drains to complement copper sinks & tubs
- Sale
- Resources
Our most helpful resources for owning artisan crafted pieces
- SHOP WITH CONFIDENCE
- Testimonials
- Photo Gallery
- Custom Projects
- FEATURED BLOG POSTS
- Copper Blog Home
- Correcting Inwanted Copper Patina Colors
- INSTALLATION GUIDES
- SoLuna Copper Bathtub
- SoLuna Copper Farmhouse Sink
- SoLuna Copper Bar or Prep Sink
- SoLuna Copper Bathroom Sink
search.toggle
1-360-321-2131
Account Login
Shopping Cart
(0)
You have no items in your shopping cart.
header-top-text
![]() Warehouse Sale! 20% off Selected Bath Sinks, Bar & Prep Sinks – While Supplies Last
Warehouse Sale! 20% off Selected Bath Sinks, Bar & Prep Sinks – While Supplies Last ![]()
20% off Selected Lighting, Bath Sinks, Bar & Prep Sinks – While Supplies Last ![]()
Sink Installation Guides
Download Bathtub Installation Instructions as a PDF
Undermount Installation
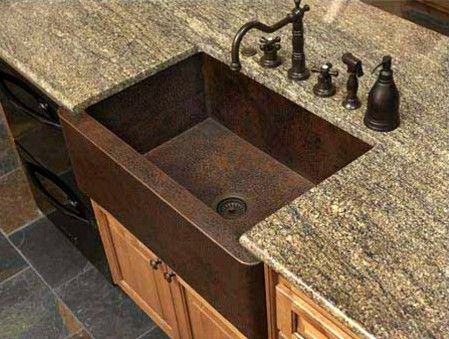
We find that 99% of all farmhouse sinks are installed in the under-mount configuration. Typically, the countertop will overhang the interior of the sink by about 1/8 inch. The “shoulders” at the front sides of the sink go in between the cabinets. The sink can protrude approximately 2 1/2 inches at the front.
|
Step |
Instructions |
|
Prepare the sink |
Flip the sink upside down on cardboard and trace the rim. Measure the distance from the rim to the lip, then add a second line inside the first. |
|
Prepare the cabinet |
Attach a template to the cabinet to mark where to cut. Cut out the front of the cabinet with a jigsaw or oscillating saw. Sand the cut area if needed. |
|
Build a support frame |
Attach 2x4s to the back and sides of the cabinet so that the sink's top rim is flush with the cabinet walls. |
|
Preparing the sink
|
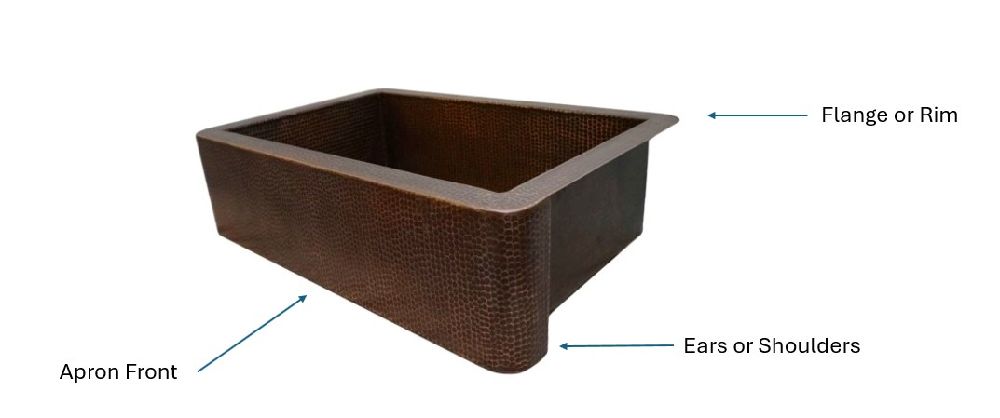
Before placing the sink on the cleats, check to make sure the top rim is perfectly flat. If necessary, turn the sink over on a flat, clean surface, such as the floor. If any part of the rim lifts away from the floor, gently tap it down until it meets the floor. The proper tool for this is a rubber or wooden mallet. If neither is available, you can use a standard hammer but lay a folded washcloth or several layers of a rag on the metal to buffer the force of the hammer. Tap very gently. It shouldn’t take much to move the metal Ears or Shoulders Flange or Rim Apron Front |
|
Install the sink |
Center the sink on the countertop and test the fit. Use shims to level the sink if needed. Apply silicone sealant around the sink's top lip and between the sink and countertop. |
|
Install the countertop |
Place the countertop on top of the sink and remove any excess silicone. |
|
Finish |
Allow the silicone to dry for at least 24 hours before installing the faucet and drain. |
ABOUT ARTISAN CRAFTED
CONTACT US


